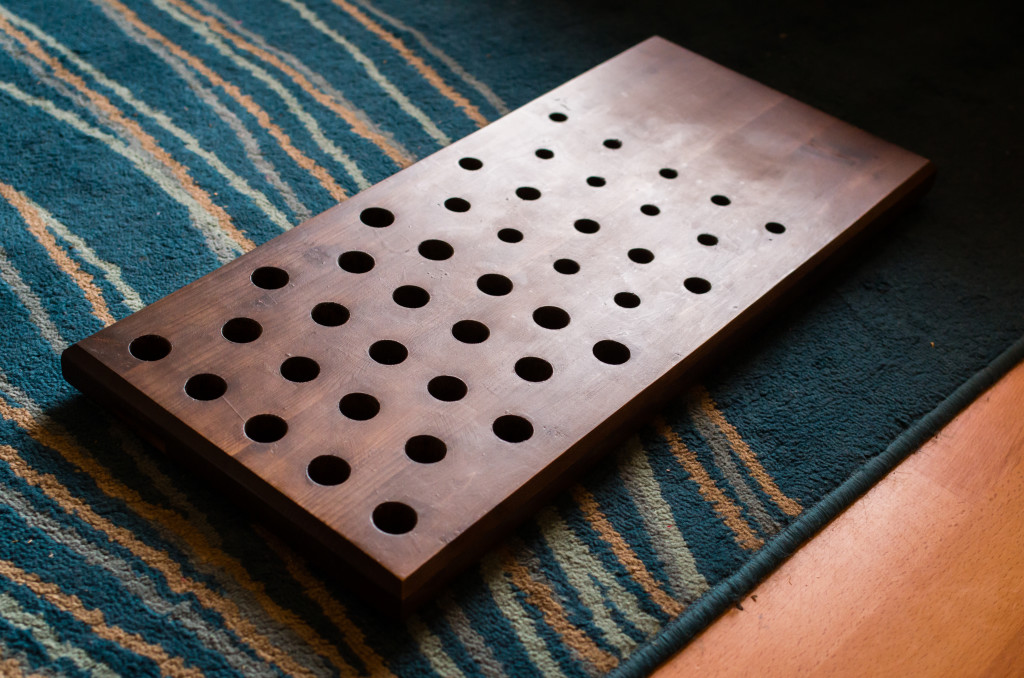
In our current house we have no spare space for a desk so I thought a laptop tray would be a pretty hand alternative – and as it turns it was a good call since I’m using it right now. By this point I also have a few off cuts of wood lying around leftover from other projects, in particular a fairly large chunk of of the pre-laminated board I used for the seat of the benches.
Tooling
Very simply (yet extremely useful) project this one, only using:
- A power drill – with various size spade bits,
- A router – with chamfer bit,
- A random orbit sander.
Design
Well there are only a few design requirements of a laptop tray: (i) tray shaped, (ii) ventilation and (iii) not too heavy to lift.
Really the size of this one was limited to make use of the off-cut of pre-laminated board (which comes in 3 m lengths, and I used 2.4 m of that in making the benches), but as it turns out 600 mm is the perfect size for my 17″ laptop and a mouse mat.
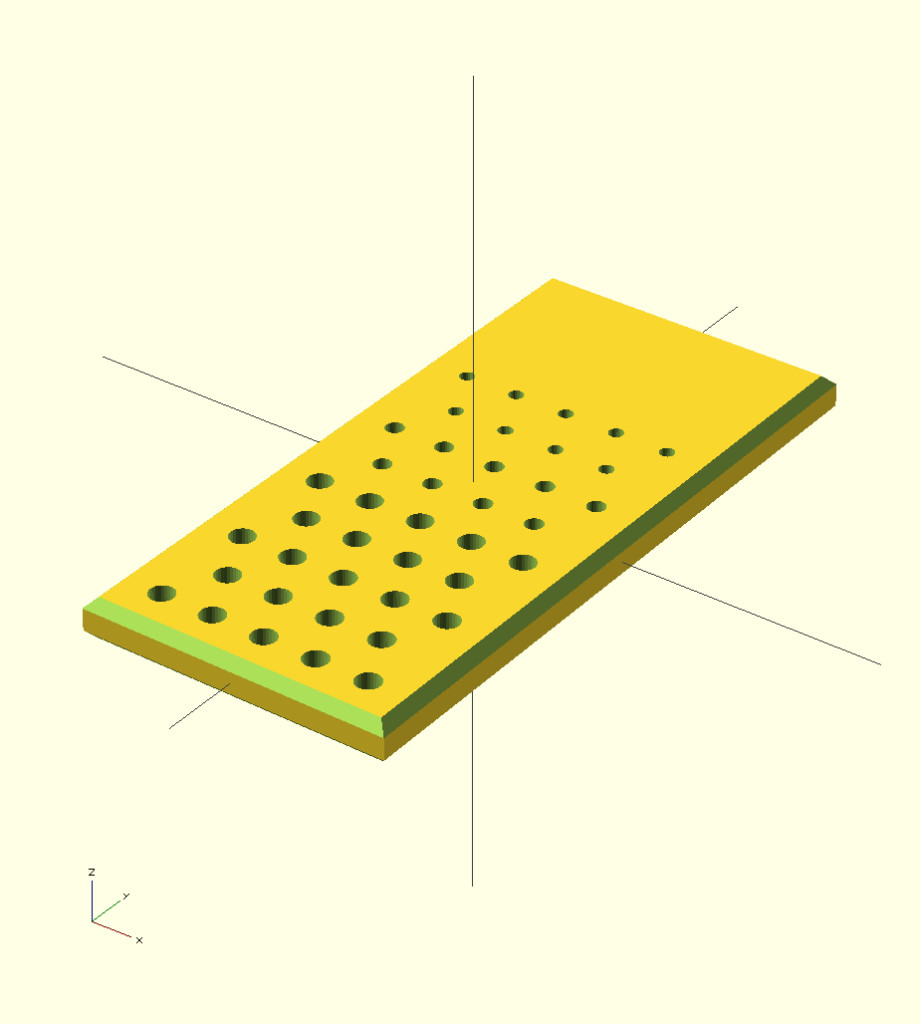
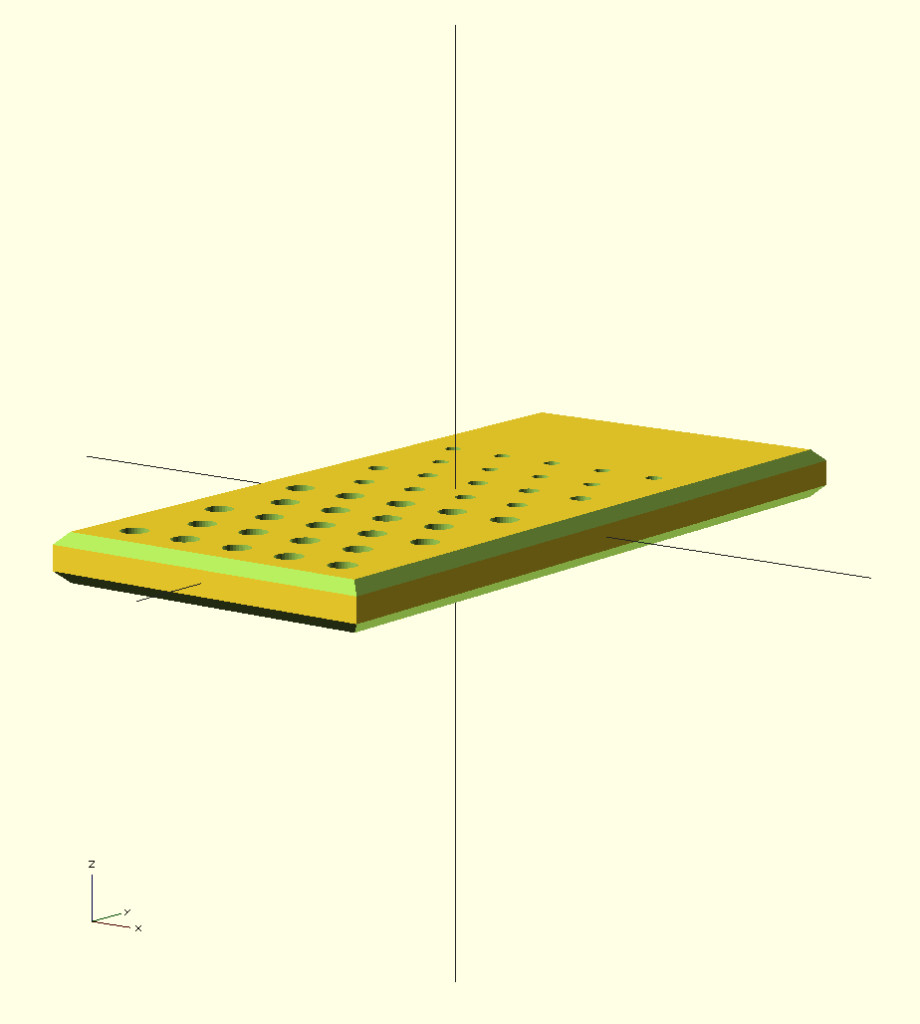
So the size of this one: 600 mm wide x 270 mm deep x 38 mm thick.
Construction
Chamfer the edges with the router to smooth off the corners.
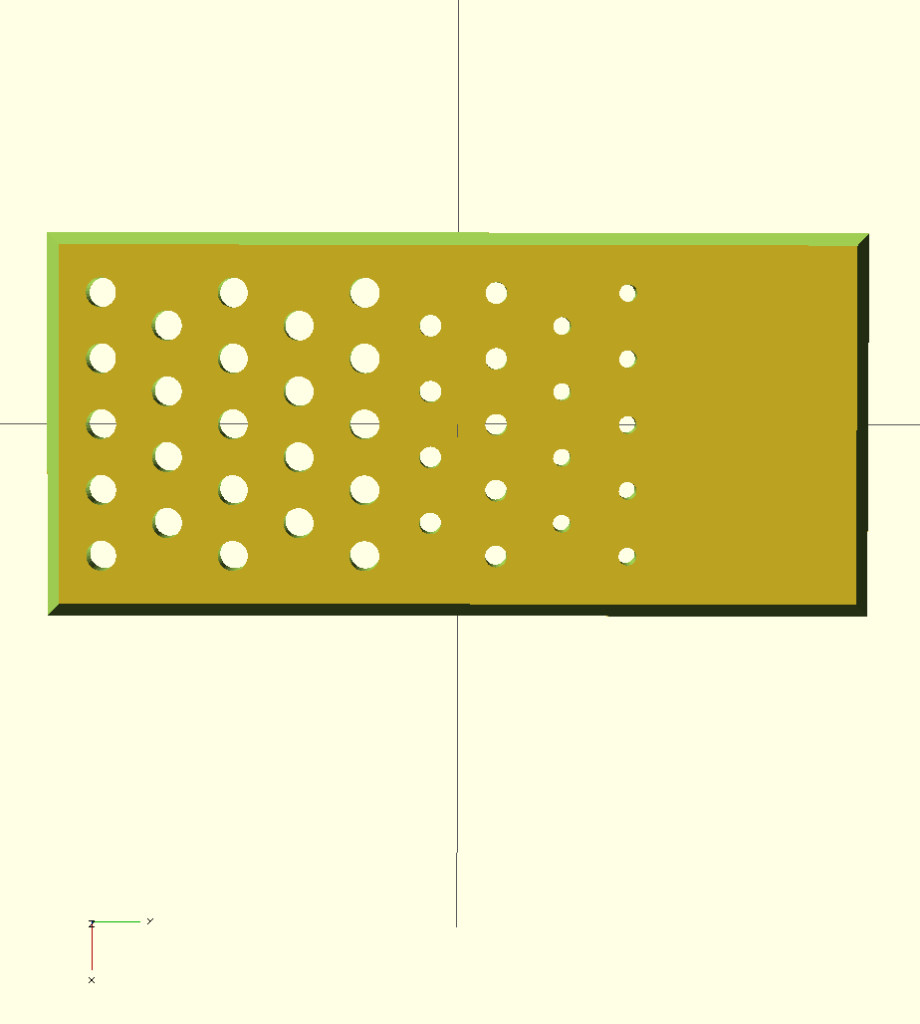
Drill an array of holes – which graded in size for aethestics – the holes provide all the necessary ventilation with the bonus of saving a bit of weight and making it easier to pick up and move around.
Finishing
Sand down to 120 grit before staining – the colour picked up during the staining process is determined by the roughness of the surface; rougher (lower grit) = deeper colour.
Stain once this time (instead of twice used for the benches – discussed in another post) with Mann’s Medium Oak pine stain.
Then varnish with several coats of Mann’s extra tough varnish (again buffing in between for a smoother finish).


